Tutorial 1: Scenery basics - how NOT to make awful adventures
Welcome in my first tutorial. Some of you may ask: how the hell can I know you're good at adventure decorating, you haven't uploaded adventure for ages!
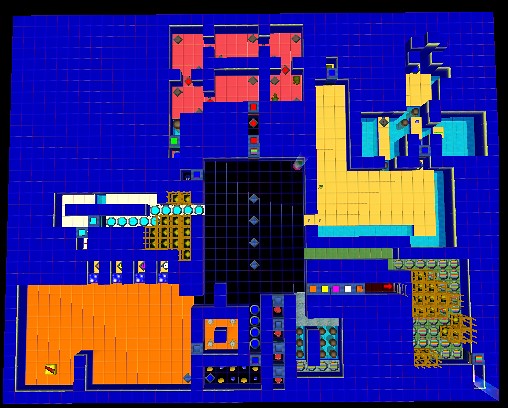
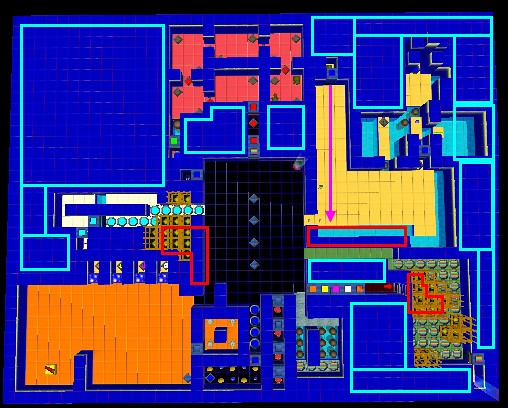
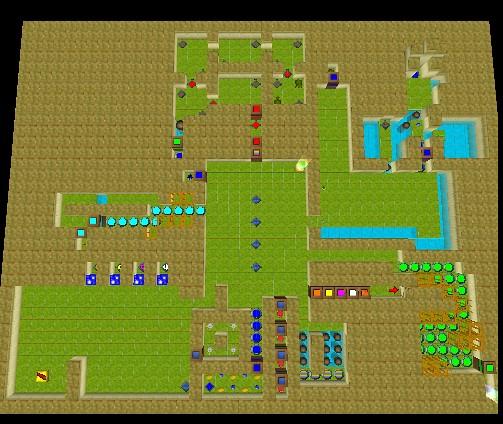
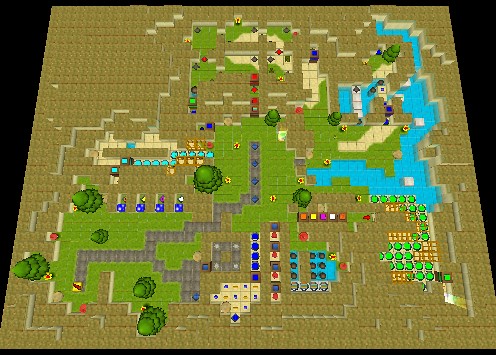
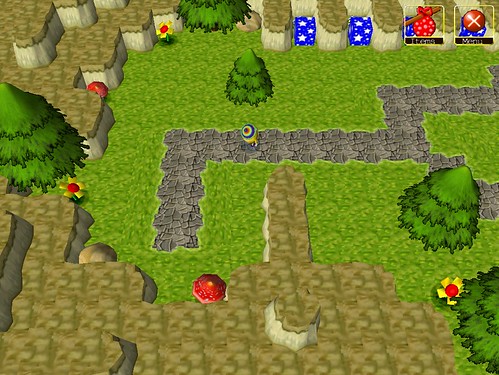
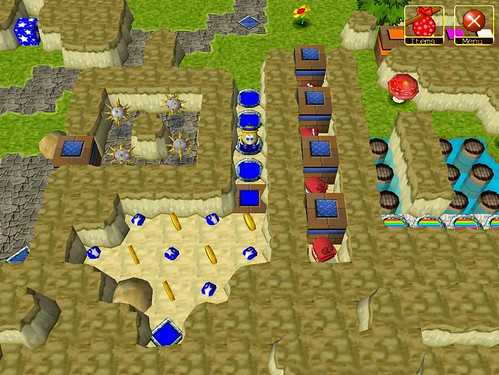
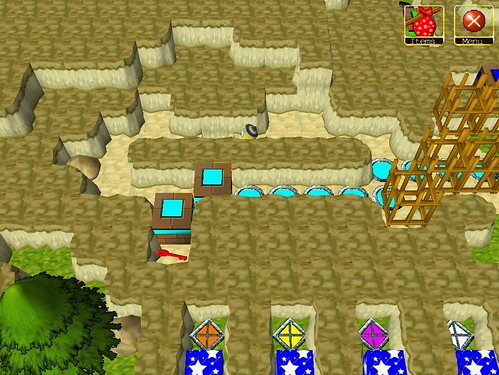
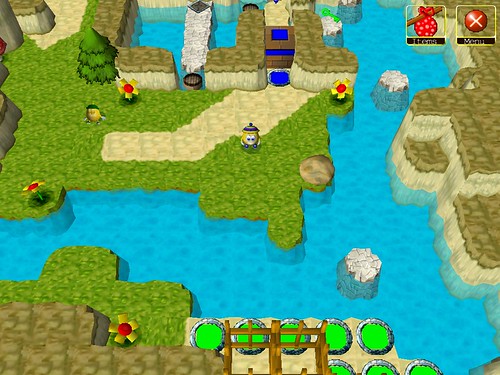
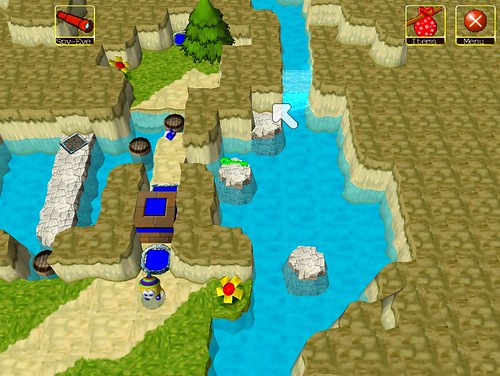
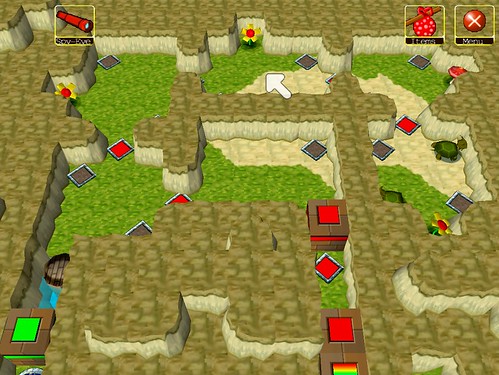
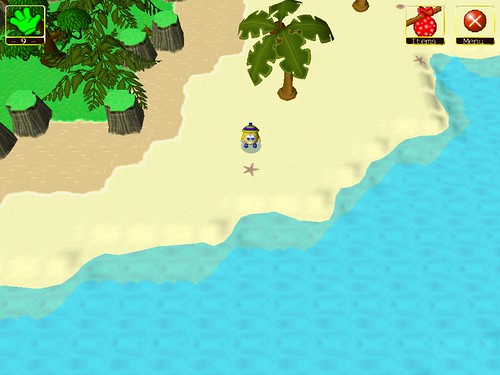
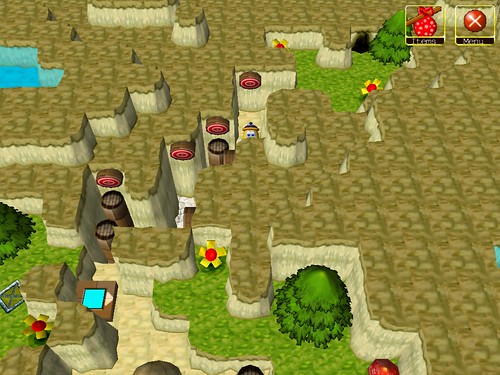
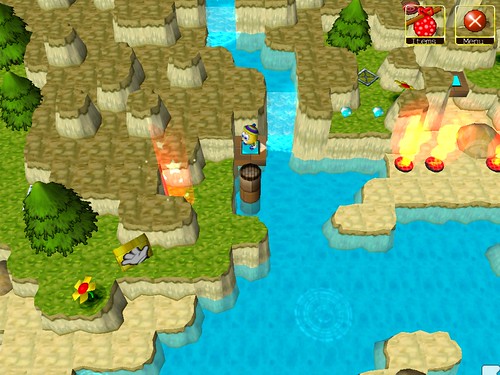
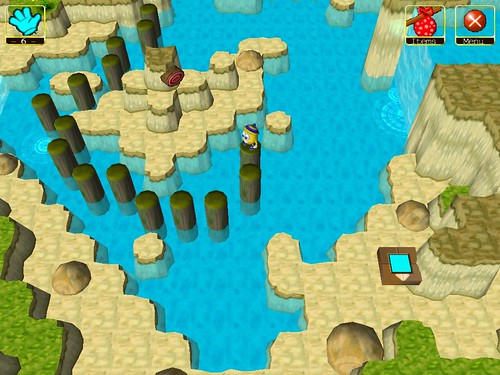
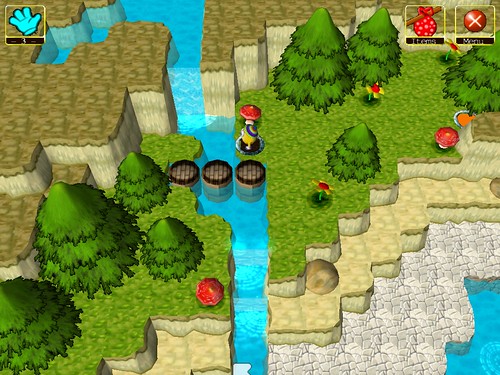
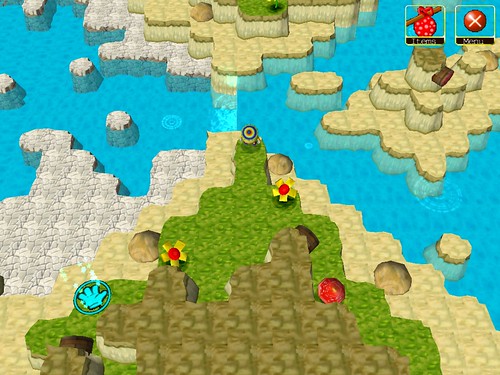
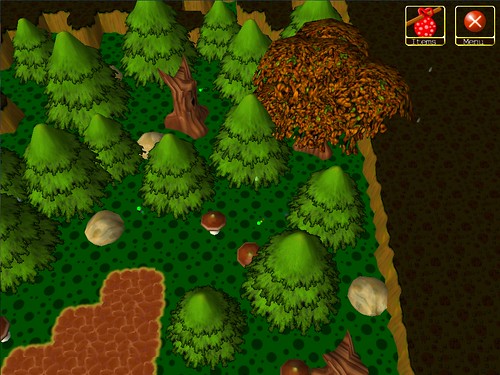
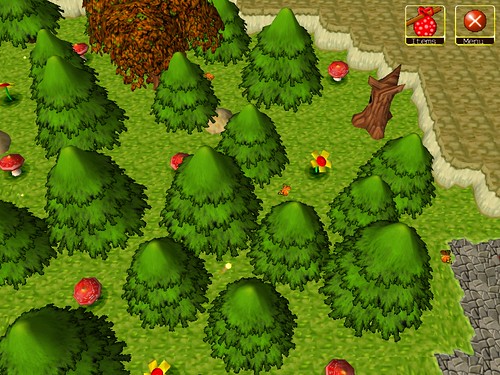
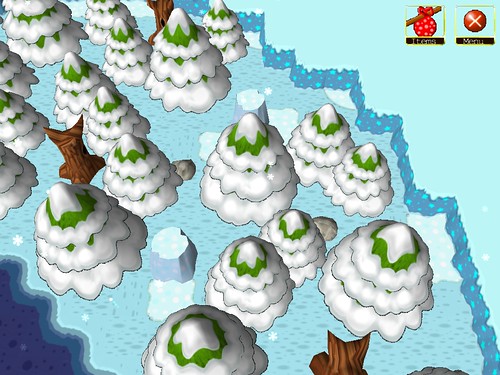
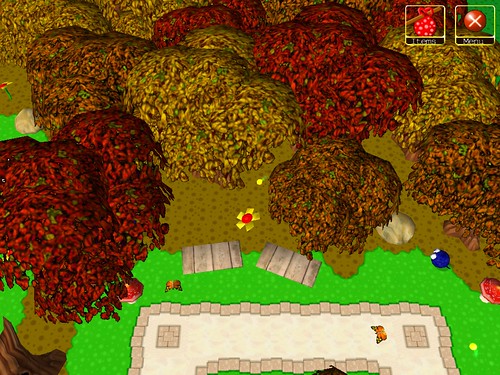
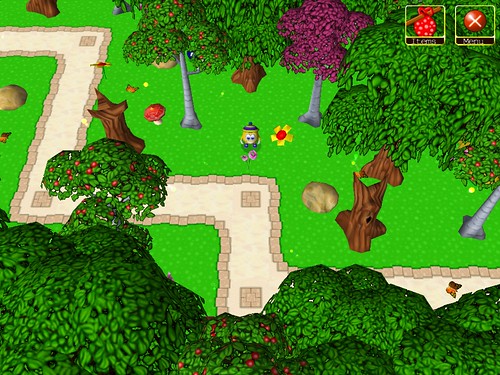
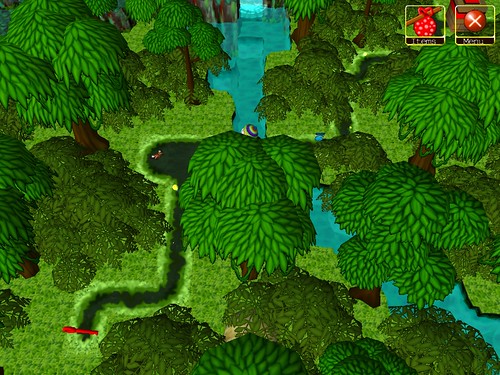
Well, let me give you some proof and show you what you'll be able to do with your adventure after reading this tutorial carefully:
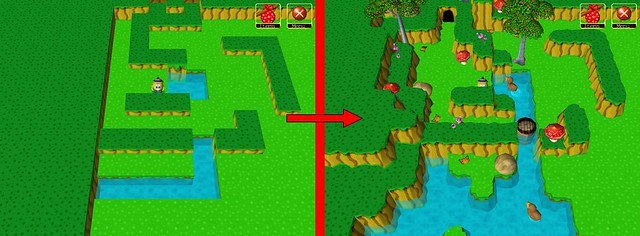 *There's a little lie in the text. Info about ducks and butterflies will come in one of the next tutorials.
You may wonder how long did it take me to transform the adventure into the final stage. Honestly, after some practise making something like this will take you 5-7 minutes.
You have to know there are several ways to make adventures. Before we'll move to the point of this tutorial, I have to show you the differences between them.
Method 1 - Scenery adjusting
Make the terrain and gameplay elements first, then place decorations.
This method is used by most of the Wondermakers. Why? Because working on an adventure using scenery adjusting method is really easy - make the terrain, place gameplay objects and then decorate. The big advantage of Method 1 is the buglessness of made adventures. I recommend it for all the beginners, for making a previously planned adventures and for making non-magic adventures. The big disadvantage of this is the limitation of the scenery (if you're good at decorating there are no limitations to you), but there are ways to help you (I'll show you these soon).
Method 2 - Gameplay adjusting
Make the scenery elements first, then place the gameplay objects. Change it all until it's OK.
This may seem completely pointless for many people, but trust me: there's nothing better when you're out of puzzle ideas. Make the nice scenery, place some gameplay objects randomly, test the adventure. Repeat changing the arrangement of gameplay elements until you have nice adventure. Adventures made this way need more testing than the others, due to possible bugs. Highly recommended for stunning hub areas, which doesn't feature puzzle elements and for making levels with transporters/springs/teleporters/Blink!.
Method 3 - Clever designing
Make the terrain, place the gameplay objects, decorate it all a bit. Repeat these until the effect satisfies you.
My personal favourite, but also the hardest one to use. It requies the designer to think forward. Troubles like 'I cannot put this tree here - I'll need to blink this way' are very often, but the result is worth working. Recommended for adventures with magic. Highly recommended for all the experienced makers.
Once we are familiar to the ways of designing, we can move to the eyecandy basics.
General design
 Pawelec's tip:
 Remember that your level needs a
correctly chosen theme. Don't make square adventures in forests or organically-shaped ones in Morklin's Museum.
 Pawelec's tip:
 World's shoreline is formed by fractal-like lines. To make natural looking terrains, make sure your shores are also fractal shaped.
Tile adjustments
 Pawelec's tip:
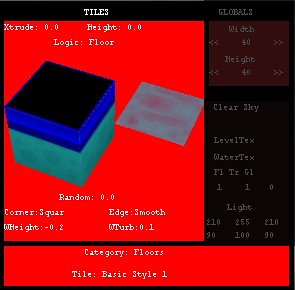
 Remember: you can set tile placement to block, so you can work faster. Also remember that placing a cursor over a certain field in Tile's Window and pressing Enter disables that setting. This way you can change only a few settings on a huge area very fast.
Tile edges
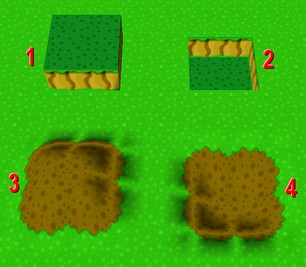
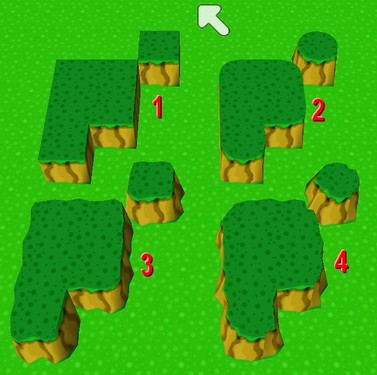
The tile edge is a way the certain tile is rendered. This setting consists of two parts: Corner Shape (Square or Round) and Wall Shape (Smooth or Jagged).
It's a very basic element of a scenery - using it wrong way makes your level look horrible.
 Common mistake:
 The default tile edge setting is Square, Smooth, which looks awful. Remember to change it, so the level doesn't look like enlarged Minecraft world.
Round, Jagged: most natural, for all outdoor landscapes and caves. My personal default.
Round, Smooth: best for town/city design (I know, MS uses Square, Smooth in Wondertown, but I think Round, Smooth is better), for interiors, for temples and castles.
Square, Jagged: I use it only under buttons, so I'm sure no part of the buttons floats over ground. Looks nice in mountains and deserts.
Square, Smooth: for me good in sewers and arcade games. Most unnatural setting, so I use it rarely.
 Pawelec's tip:
 Start making a level by wiping the whole area with correctly prepared floor tile.
 Pawelec's tip:
 The walls surrounding all the levels are set to Square, Smooth. If you want them to have other setting, make a border of walls with XTrude 1.0 and the correct edge setting.
XTrude and Height
 Common mistake:
 The walls surrounding the level have XTrude of 1.0. This means that this should be your default. Using tiles of XTrude 0.5 only looks horrible, as they are lower than the level borders.
 Common mistake:
 The total tile's height is the Height setting is added to the XTrude - none of them defines the tile's real height itself.
 Common mistake:
 The Height setting affects not only the tile it's applied to, but also the surrounding ones.
 Pawelec's tip:
 The walls at the borders don't have their outer edges visible, so make sure none of border walls is higher than XTrude = 1.0
Water settings
Because water allows us to make really stunning levels, there'll be another tutorial made about this. There are the basics only.
 Pawelec's tip:
 Setting the WaterTurb too high results in waves showing on the ground. To avoid such a situation, make sure that
WTurb < XTrude + Height - WHeight
 Common mistake:
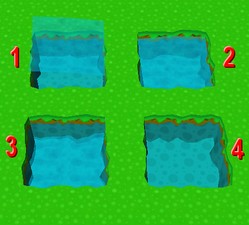
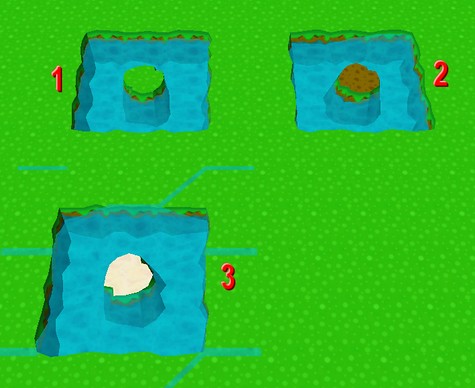
 If you make a hole/canyon with
WHeight < XTrude + Height (for the math-haters: if you make a deep hole without the water visible), make sure that tiles surrounding the hole/canyon have the same WHeight as the hole/canyon has.
Why? Leaving their WHeight = -0.2 results in water showing on the tiles' edges.
Objects' parameters
 Common mistake:
 Many designers overuse Gates' steel frames and steel/rainbow colour. These can ruin your adventure's appearance easily.
 Common mistake:
 Baby chompers AREN'T nice. They are jumping around and napping like Scritters, also their shadows are too big. I don't use them in my levels.
 Pawelec's tip:
 Custom textures allow you to make totally new lands - you can make new mushrooms, trees, ducks, flowers, butterflies... Personally I recommend you to use PhotoFiltre Studio X for graphic editing, but this program isn't freeware. Make sure your graphic software allows you to work on layers - this helps a lot.
 Pawelec's tip:
 Make sure no wild trees or flowers are placed in rows - this looks unnatural.
 Pawelec's tip:
 Leaving too much free space in the level makes it boring. Gently placed flower or tree can make it intresting.
 Pawelec's tip:
 Every tree, every flower, every mushroom and every stone are diffrent. Rescale and rotate them to make groups of them look nice.
 Pawelec's tip:
 Remember that most scenery objects behave like walls, so you can replace some of the walls with trees and rocks.
 Pawelec's tip:
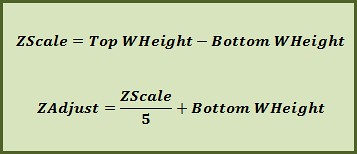
 Scenery objects have ZAdjust - you can place them on the walls, making use of soooo much free space.
This would be enough for this tutorial, if I find another common mistake I'll write about it here. The Object section isn't expanded much, because I'll give you some tips in next tutorials.

